It is crucial to monitor the temperature of your computer’s CPU to ensure it is not overheating. This is especially important during intense tasks or hot summer weather, as overheating can cause issues such as spontaneous shutdowns, lockups, or slow performance. Additionally, monitoring CPU temperatures is necessary when overclocking your processor to ensure you don’t push it too hard and risk damaging it. With the release of powerful processors like the Intel Core i9-12900KS and AMD Ryzen 5800X3D, it is important to pay extra attention to CPU cooling to prevent melting your expensive chip. As newer processors like the Ryzen 7000 series continue to push the limits of power, it will be even more critical to ensure your CPU stays cool.
Surprisingly, there is no built-in feature in Windows to check the temperature of your computer’s CPU. While you can check this information in the BIOS, it can be inconvenient to go through the extra effort. Fortunately, several free programs are available that make it easy to check your processor’s temperature. Using these programs, you can quickly and easily determine if you need to take steps to cool your CPU down.
How to check your CPU temperature
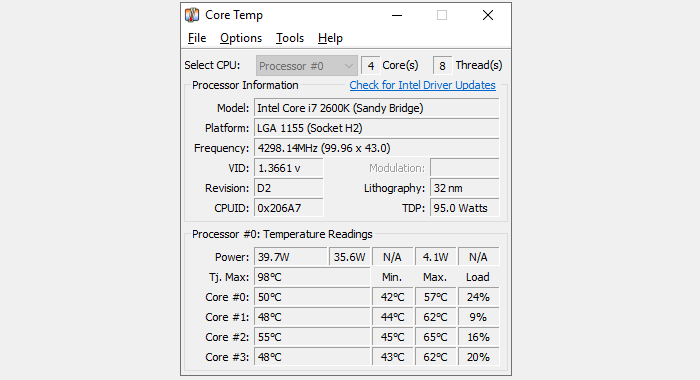
Core Temp is a fast and easy way to check your CPU temperature. During installation, be cautious, as it may try to install bloatware unless you uncheck the appropriate boxes. Once installed, open Core Temp to view the current condition of your processor, including an average temperature reading at the bottom. For even more detail, click the “Show hidden icons” button in the system tray at the right edge of your Windows taskbar, which will display a temperature listing for each CPU core. The Settings menu in Core Temp allows you to customize what is shown in the system tray and how it is displayed. The default configuration makes it easy to see if your CPU is overheating or functioning correctly.
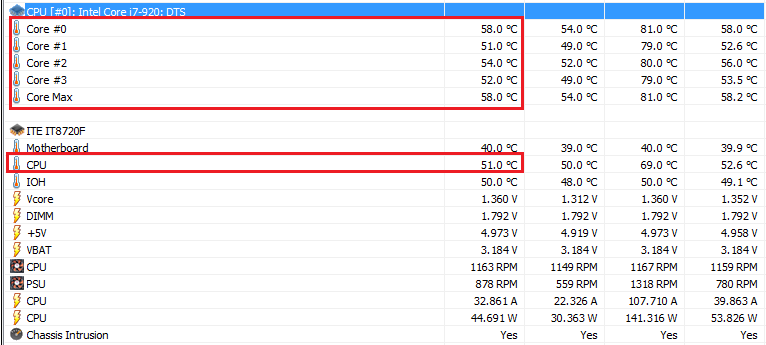
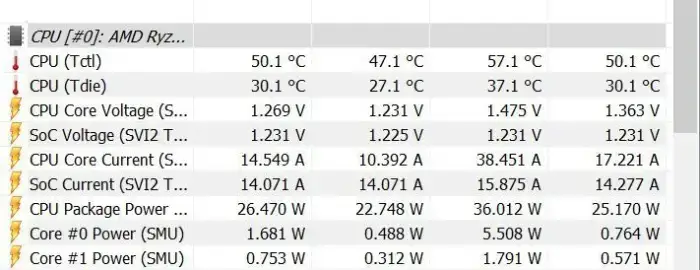
In addition to Core Temp, there is also the option of using HWInfo to check your CPU temperature. HWInfo is a comprehensive system monitoring tool that provides detailed information about every aspect of your computer’s hardware. For example, if you run it in sensors-only mode and scroll down to the dedicated CPU section (not the CPU temperature section of the motherboard listing), you will see the current temperatures and other detailed information.
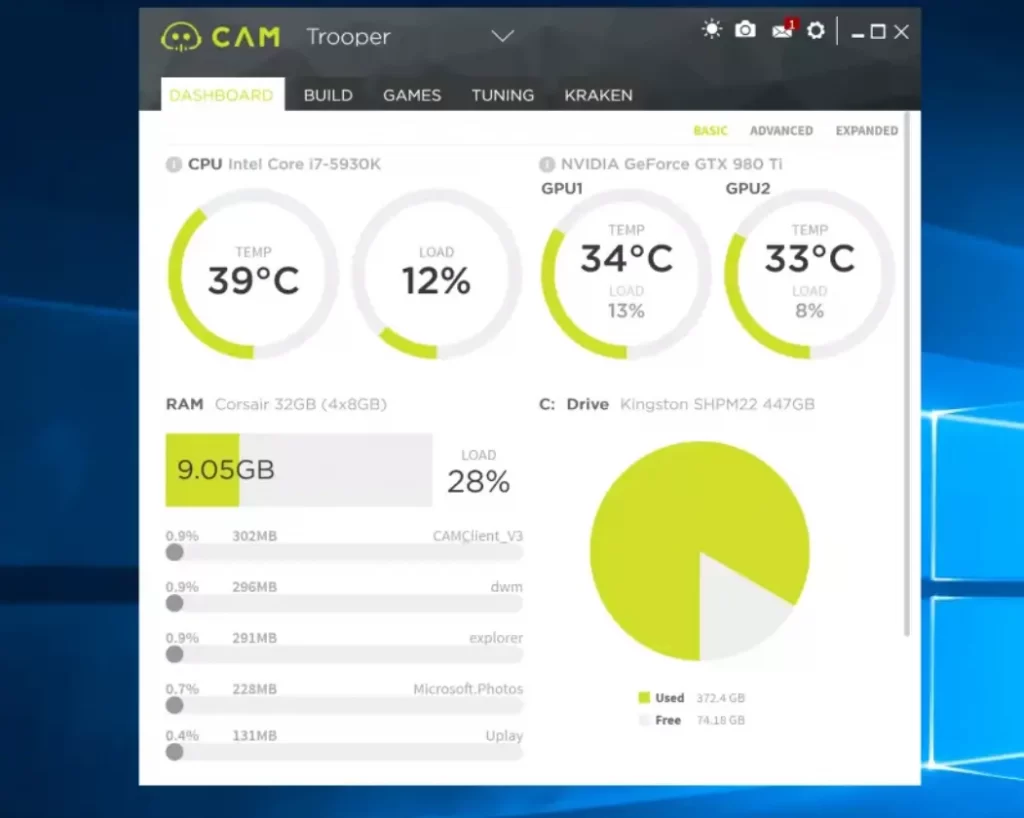
NZXT’s Cam software is another popular choice for checking CPU temperature. It has a user-friendly interface that is easy to read and provides helpful information about your CPU, graphics card, memory, and storage. It also includes features such as an in-game FPS overlay and overclocking tools and has mobile apps that allow you to monitor your system when you are away from your PC. Other options for monitoring your system’s information include Open Hardware Monitor and SpeedFan. However, for the specific task of checking your CPU temperature, Core Temp’s clear focus is a good choice.
It is important to note that if you use an AMD Ryzen system, including 3rd-generation models like the Ryzen 5 5600X or Ryzen 9 5900X, you may see two different CPU temperature readings. In this case, you should refer to the “Tdie” reading, which measures the actual heat on the die. The “Tctl” reading is the control temperature reported to your cooling system and may include a temperature offset to ensure consistent fan speed behavior among different Ryzen chips. Any of the programs mentioned above that display a single temperature already consider this offset.
What’s the best temp for your CPU?
The maximum supported temperature for a processor varies depending on the specific model. Most of the free programs mentioned above display this information as “Tj. Max,” which stands for temperature junction and represents the highest operating temperature of the hardware. If you cannot find this information, search for your CPU’s model number on the CPU World website. Every program listed above indicates your processor’s model number, making it easy to find this information.
It is important to note that the maximum temperature is the point at which your processor will shut down to prevent damage. Therefore, regularly running at or near this temperature can negatively impact your hardware’s long-term lifespan. Instead, following the rule of thumb for CPU temperatures under load is generally recommended.
Here is a general guideline for CPU temperatures under load:
- Under 60° C: The temperature is within a safe range, and your system is functioning properly.
- 60° C to 70° C: The temperature is still within a safe range, but it is getting warmer. If CPU temperatures continue to rise over time, consider cleaning the dust out of your computer to improve airflow.
- 70° C to 80° C: This temperature range is getting too hot for comfort unless you intentionally overclock your system. If you are not overclocking, check to make sure your fans are working correctly and that there is not a build-up of dust blocking airflow.
- 80° C to 90° C: This temperature range is too hot for long-term comfort. Check your hardware for broken fans or dust build-up, and if you are overclocking, consider dialing back your settings, particularly the voltage. It is worth noting that some powerful laptop processors may reach the low 80s during gaming sessions when plugged in, at which point they may start throttling back performance. This is expected behavior, but if temperatures exceed 85° C, it is a cause for concern.
- Over 90° C: This temperature is dangerous and could cause damage to your hardware. Take immediate action to cool down your system.
How to lower your CPU temperatures
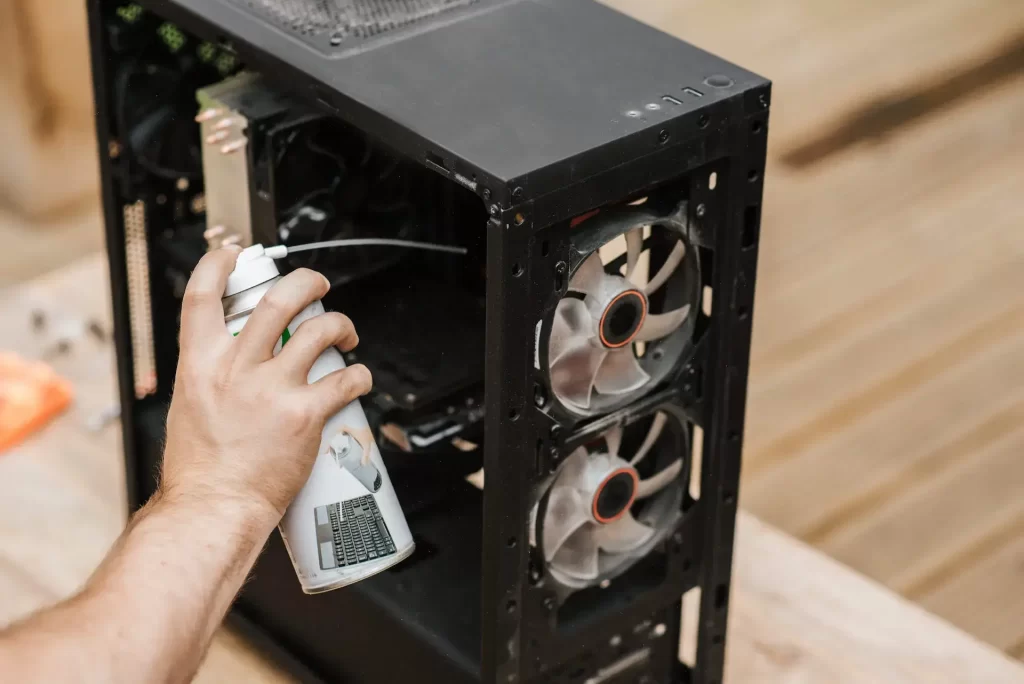
If you are experiencing high CPU temperatures regularly, there are some measures you can take to try and fix the issue. One of the most effective solutions is to clean the inside of your PC. High CPU temperatures can often be caused by a build-up of dust and grime inside the computer, which can clog fans and obstruct airflow. You can use canned air, which can be purchased for around $10 online, to clean the inside of your PC. Additionally, ensure that all of your fans are functioning correctly and are pointed in the right direction, and check to ensure that none of the vents in your PC are blocked.
If cleaning your PC and checking the fans and vents does not solve the issue of high CPU temperatures, you may need to take more intensive steps. One possibility is that the thermal paste that transfers heat from your CPU to the cooler has dried out, which can cause temperature spikes. In this case, removing the old thermal paste with rubbing alcohol and applying a fresh layer can help significantly lower temperatures. This is a more involved process that requires disassembling your PC and removing the CPU cooler. It is essential to follow the instructions carefully and use caution to avoid damaging any components. If you are unsure how to do this, it may be best to seek the help of a professional.
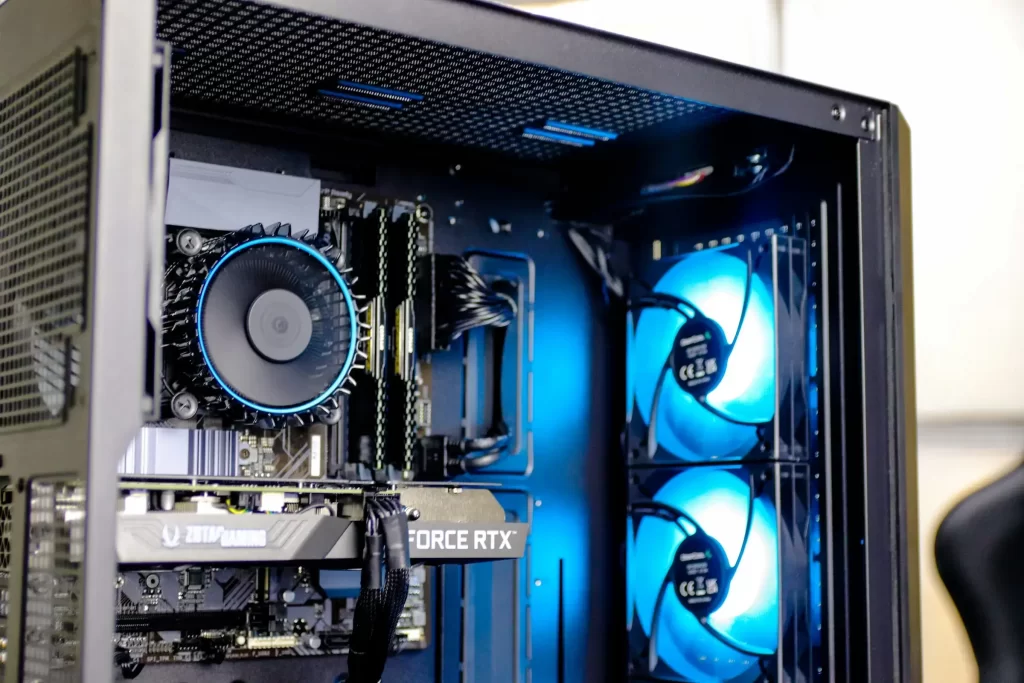
Suppose none of the above steps help to lower your CPU temperatures. In that case, your current cooling solution may be insufficient to keep up with the heat output of your CPU, particularly if you are using a stock cooler or a modest third-party cooler with a high-end processor or if you are overclocking. In this case, you may need to purchase a new CPU cooler to improve your system’s cooling performance. Many options are available, ranging from budget-friendly air coolers to more expensive liquid cooling systems, so you can choose the one that best fits your needs and budget. But first, it is important to research and select a cooler compatible with your specific CPU and motherboard.


